Xbox:FileZilla: Difference between revisions
Jump to navigation
Jump to search
mNo edit summary |
mNo edit summary |
||
| Line 1: | Line 1: | ||
[[Category:Xbox]] | |||
[https://filezilla-project.org/ FileZilla] allows you to transfer files can be transferred to and from your Xbox. On a custom dashboard, AID, or SID, an FTP server will always be running in the background. | [https://filezilla-project.org/ FileZilla] allows you to transfer files can be transferred to and from your Xbox. On a custom dashboard, AID, or SID, an FTP server will always be running in the background. | ||
Latest revision as of 01:47, 17 May 2021
FileZilla allows you to transfer files can be transferred to and from your Xbox. On a custom dashboard, AID, or SID, an FTP server will always be running in the background.
Using Filezilla
- Make sure you have either an Ethernet or WiFi connection between your Xbox and PC.
- Take note of your Xbox's IP address. It should be on the dashboard.
- If there is no IP; change the IP address to a static one. You may need to also set the gateway to your PC's IP address, but this isn't usually necessary.
- Open a FileZilla session and enter your Xbox's IP into the host field in the top left, and "xbox" as the username and password. Press enter to connect.
- You may need to navigate to Network and Sharing Center → Change Adapter Settings → Right click the ethernet adapter → Properties → Configure... → Speed & Duplex → Select 100Mbps Full Duplex from dropdown and hit OK.
- In the right-hand side, you should see a directory listing of the different partitions on the drive.
- C: is your operating system directory, do not modify anything here unless you know what you are doing.
- D: is your DVD-ROM.
- E: is your game save directory; also used as the default app install location.
- F: is an extra storage directory.
- G: is an extra storage directory if your HDD is bigger than 137GB.
- H, I, J, K, L, M, N, O: are memory cards or USB devices.
- X, Y, Z: are your cache drives. It is OK to delete all files here.
- You can browse your PC on the left-hand side and upload or download files by right clicking them and choosing the relevant option on either session. Choosing "Add to Queue" will save the transfer into a list, and pressing Ctrl+P will start processing the list; this is handy if you are not yet ready to transfer large amounts of files.
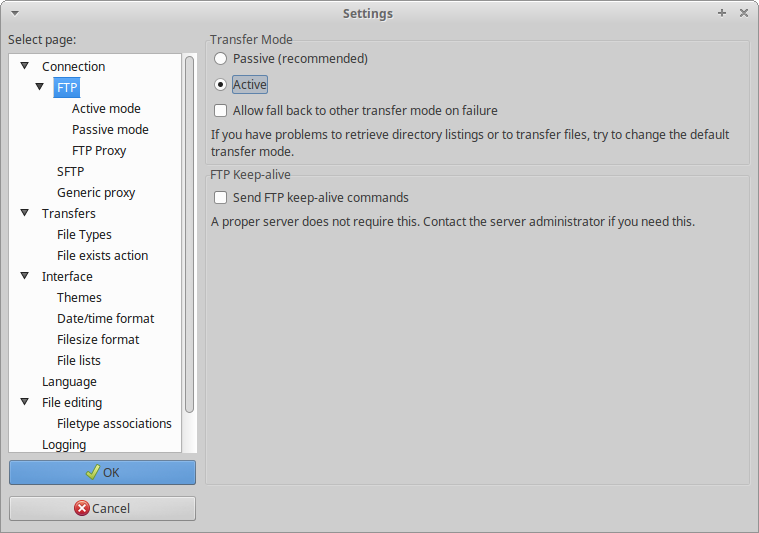
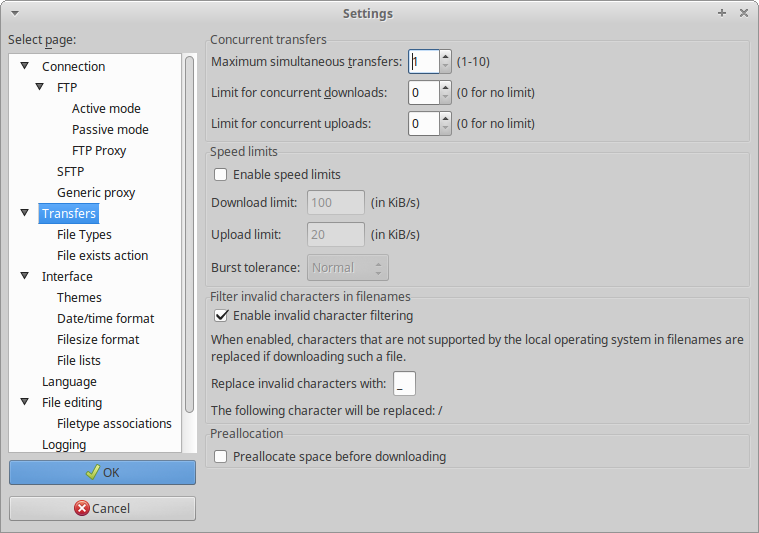
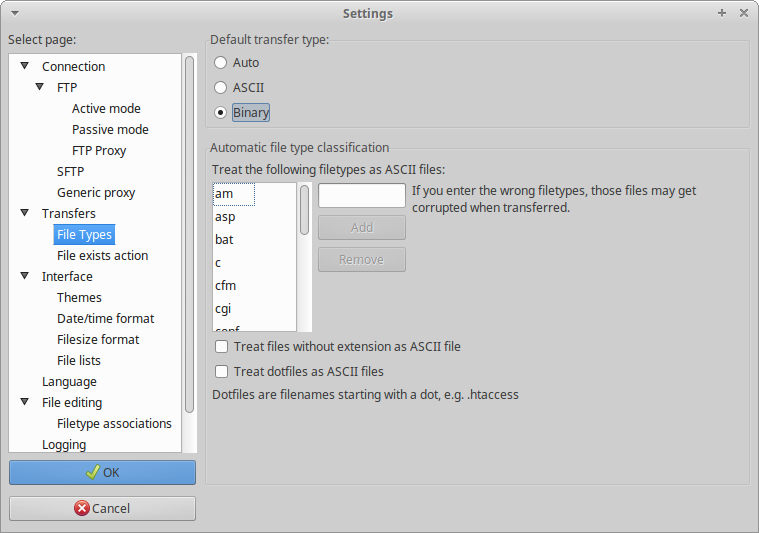
Make sure to use these settings in FileZilla:


