Dreamcast:Controller Fuse Replacement: Difference between revisions
Jump to navigation
Jump to search
(page created) |
No edit summary |
||
| Line 26: | Line 26: | ||
[[File:Dc fuse slot.jpg|400px]] | [[File:Dc fuse slot.jpg|400px]] | ||
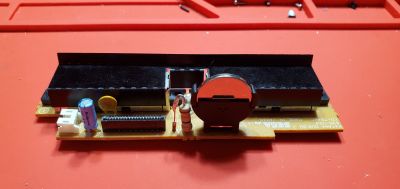
# Insert the replacement fuse and solder it into place. Enjoy! | # Insert the replacement fuse and solder it into place. Enjoy! While you already have the controller board removed, now would be a good time to [[Dreamcast:Replaceable Battery Mod|replace the battery]] as well (as pictured to the right of the fuse below) | ||
[[File:Dc fuse done.jpg|400px]] | [[File:Dc fuse done.jpg|400px]] | ||
Latest revision as of 18:30, 25 May 2022
This tutorial goes over how to replace the F1 fuse for the controller ports on a Dreamcast. The fuse can be blown by unplugging a controller while the console is powered on, so this mod replaces the stock fuse with a fuse that will reset itself after a couple minutes should it be blown again.
Requirements
The following materials are required for this mod:
- Replacement fuse. This tutorial will be using this one
- Soldering iron, solder, and flux
- Desoldering equipment, such as a desoldering gun, desolder pump, or wick
Installation
- Remove the top cover of the Dreamcast. IFixIt has a helpful guide here with pictures on how to remove the top cover if needed.
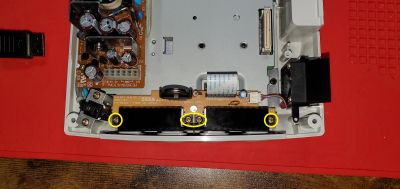
- Once the top cover is off remove the 4 Philips screws holding the board into place.
- Gently remove the controller cable as well as unplug the fan so that the board can be removed from the case.
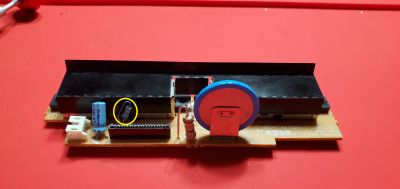
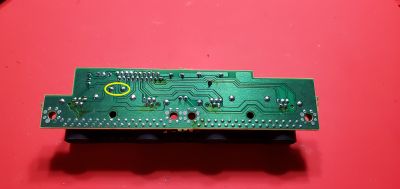
- This is the fuse we will be replacing. Turn the board over and desolder the two legs of the fuse, as shown here:
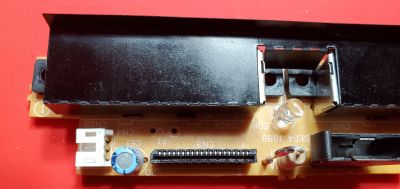
- Insert the replacement fuse and solder it into place. Enjoy! While you already have the controller board removed, now would be a good time to replace the battery as well (as pictured to the right of the fuse below)
