General Cleaning Tips: Difference between revisions
No edit summary |
No edit summary |
||
| Line 30: | Line 30: | ||
# After everything is completely dry, re-assemble it and enjoy your "brand new" console or controller! | # After everything is completely dry, re-assemble it and enjoy your "brand new" console or controller! | ||
[[File:CleaningConsoles07.jpg]] [[File:CleaningConsoles09.jpg]] | |||
<youtube>https://www.youtube.com/watch?v=kzkv4E1X_LY</youtube> | <youtube>https://www.youtube.com/watch?v=kzkv4E1X_LY</youtube> | ||
== Cleaning Glass == | |||
With bare glass, you can use Windex or any other generic glass cleaner and a rag — taking care to avoid getting it on the plastic bezel. However, if you are using a professional CRT monitor, please check whether your screen has an anti-glare film on it. Generally, you can tell because the screen is darker than other screens and may have light scratches showing a lighter color glass underneath. | |||
Often times, anti-glare film is already in bad shape with scratches, peeling, or tears in it. In that case, you can try and remove it by peeling as much as you can off (which isn't always possible) and dissolving the rest of it by using a rag and isopropyl alcohol (90%+, higher the better), taking care not to get alcohol on the plastic bezel. With hard scrubbing, you can remove the film completely and then go over the screen with glass cleaner. You can either get a new film applied by a professional or leave it as is. | |||
Revision as of 06:49, 18 June 2022
Often times, you will come across a game system, controller, or other electronic that needs a good internal and external cleaning. The processes outlined here will help you safely remove dirt from the unit. Note that this will not reverse yellowing of white or grey plastic — for that you would need to "RetroBrite" the plastic.
| If you are working in a sink, plug the drain first so that small parts are not lost down the drain. |
Required Materials
- A fully disassembled console or controller
- GooGone spray gel
- Kitchen brush with plastic bristles (not metal!) or large paintbrush
- Any dish detergent
- Compressed air or handheld electric duster blower
- A video game console or controller that’s had all of the metal and electronics removed
Cleaning Plastic
- Remove as many metal parts from the console or controller as possible.
- Use compressed air or blower to remove as much dust as possible from the surface of the electronic components.
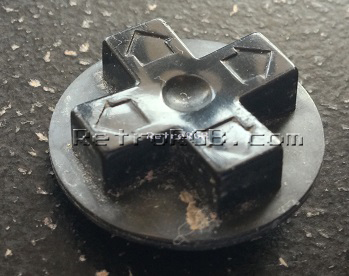
- Working one piece at a time, spray GooGone directly on the dirtiest areas, especially where there is dirt build-up as demonstrated in the picture below:

- Splash a little bit of water around the GooGone.
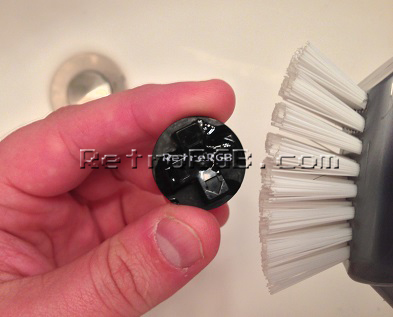
- Use the brush and thoroughly scrub the entire console or controller for as long as it takes to get clean.
- Clean all individual pieces well, such as controller buttons, expansion doors, etc. Avoid scrubbing any labels or text unless you are trying to remove it.
- Repeat the spraying, wetting, and scrubbing process as needed. Tight spots can be reached with a cotton swab covered in GooGone.

- Once it seems as clean as it will get, rinse off as much GooGone as possible.
- Squirt some dish detergent and scrub once again, making sure to get a good lather and scrub every bit of your system or controller (that's not a label or text). This will remove the residue left behind by the GooGone.
- Once again, wash off the console and make sure you get all of the soap out.
- Shake off the excess water. Dab (not rub) the labels with a towel. You should dry the labels as quickly as possible, so they don't get discolored.
- Use compressed air to get the water out of hard to reach spots.
- Leave everything to dry for at least a few hours.
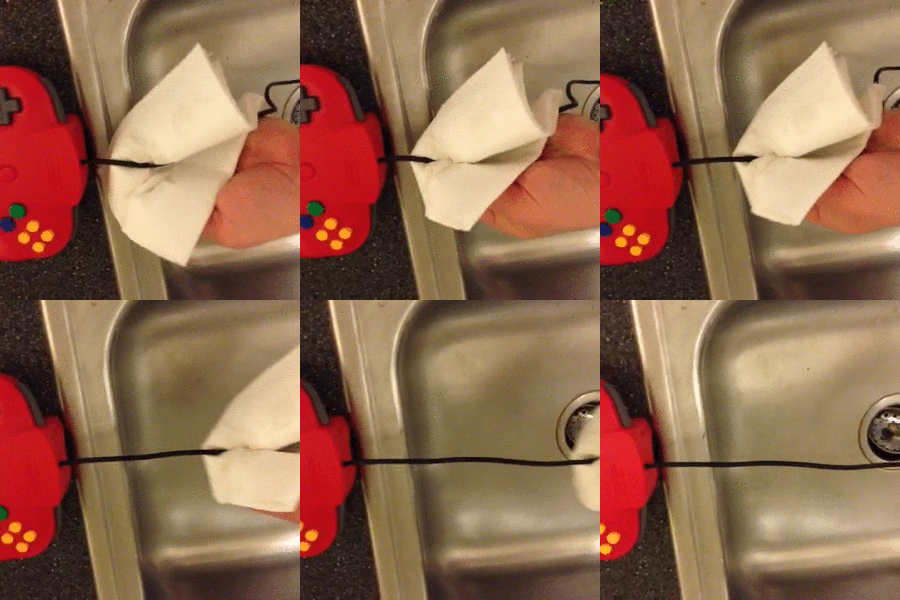
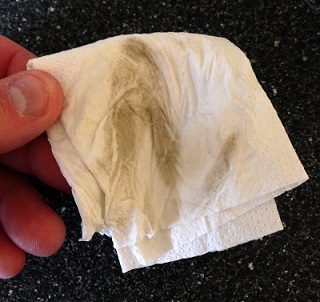
- If cleaning a controller, you may wish to clean the controller cable and connector as well. You can do this by spraying some GooGone on a paper towel, squeezing it around the cable, and pulling the cable through your hand. Repeat with water to remove the GooGone.


- After everything is completely dry, re-assemble it and enjoy your "brand new" console or controller!
Cleaning Glass
With bare glass, you can use Windex or any other generic glass cleaner and a rag — taking care to avoid getting it on the plastic bezel. However, if you are using a professional CRT monitor, please check whether your screen has an anti-glare film on it. Generally, you can tell because the screen is darker than other screens and may have light scratches showing a lighter color glass underneath.
Often times, anti-glare film is already in bad shape with scratches, peeling, or tears in it. In that case, you can try and remove it by peeling as much as you can off (which isn't always possible) and dissolving the rest of it by using a rag and isopropyl alcohol (90%+, higher the better), taking care not to get alcohol on the plastic bezel. With hard scrubbing, you can remove the film completely and then go over the screen with glass cleaner. You can either get a new film applied by a professional or leave it as is.

