SNES:SNES Jr Mods: Difference between revisions
| Line 22: | Line 22: | ||
This method is sometimes referred to as the "3-wire" mod, since you're essentially just connecting the three RGB lines (and sync), plus a few resistors, but that's pretty much it. The biggest disadvantage is soldering to the S-RGB can be very challenging for beginners and if you're adding other mods, the components can get messy. <br> | This method is sometimes referred to as the "3-wire" mod, since you're essentially just connecting the three RGB lines (and sync), plus a few resistors, but that's pretty much it. The biggest disadvantage is soldering to the S-RGB can be very challenging for beginners and if you're adding other mods, the components can get messy. <br> | ||
=== | === THS7314/THS7316 Amp Boards ([[RetroRGB_Migration:Snesminidiybypass|Guide]]) === | ||
[[File:SNESMiniRGBPage03.jpg|Pre-assembled THS7314 amps|150px|thumb]] | [[File:SNESMiniRGBPage03.jpg|Pre-assembled THS7314 amps|150px|thumb]] | ||
People have integrated the THS7314 or THS7316 into their own board. This guide specifically shows how to make your own DIY board, however the basic instructions will be the same for pretty much any pre-assembled board as well. | People have integrated the THS7314 or THS7316 into their own board. This guide specifically shows how to make your own DIY board, however the basic instructions will be the same for pretty much any pre-assembled board as well. | ||
Revision as of 21:24, 29 July 2022
The SNES Mini has everything it needs to output RGB and s-video, but is missing the connections and basic circuitry. You can choose between using the Mini's built-in RGB amp and adding the missing circuitry, or adding a newer amp and simply connecting the RGB lines.
Recommended Methods
Here are installation guides for the best video mods you can do on your SNES Mini / Super Famicom Jr. Here is the advantages of each here, and a link to the full guide:
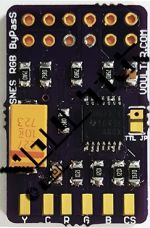
Pre-assembled THS7374 Amp (Guide)
The newer THS7374 chips provide an excellent RGB signal but are notoriously difficult to solder due to their size. A handful of hardware developers have created pre-made amps that include all the circuitry needed to output RGB. This makes installation extremely simple and only requires 4 short wires to be added to the bottom of the board. It is recommended that beginners use this solution, for ease of use, but some experts actually prefer the look of this amp to the onboard S-RGB Encoder.
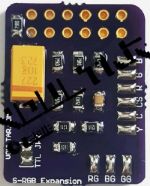
S-RGB Expansion Board (Guide)
This method is essentially the same as the original DIY SNES Mini mod, however all you'll need is wire. All components are included on the board, resulting in a much cleaner look and easier installation. Plus, this includes S-Video support as well! If you're going to use the built-in amp, THIS is the method recommended.
Older & DIY Mods
These are guides that show you how to perform RGB and S-Video mods as DIY projects. The guides are still accurate, however it is strongly recommend to do either of the above mods, as they're cleaner, easier and offer more features. Here is the advantages of each here, and a link to the full guide:
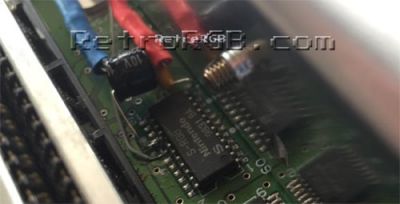
Using the Built-in Amp (Guide)
This method is sometimes referred to as the "3-wire" mod, since you're essentially just connecting the three RGB lines (and sync), plus a few resistors, but that's pretty much it. The biggest disadvantage is soldering to the S-RGB can be very challenging for beginners and if you're adding other mods, the components can get messy.
THS7314/THS7316 Amp Boards (Guide)
People have integrated the THS7314 or THS7316 into their own board. This guide specifically shows how to make your own DIY board, however the basic instructions will be the same for pretty much any pre-assembled board as well.
S-Video Mod (Guide)
If you're already doing an RGB mod on your SNES Mini, you might want to consider adding S-Video as well.


