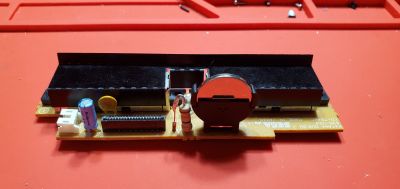
Dreamcast:Replaceable Battery Mod
Jump to navigation
Jump to search
This tutorial goes over how to replace the rechargeable battery in a Dreamcast with a standard coin cell battery. The Dreamcast uses an ML2032 rechargeable battery that is not only expensive to replace but has a low charge capacity. We will be replacing the battery with a non-rechargeable CR2032 and installing a new battery holder so the battery can be easily replaced once it is dead. We'll also be inserting a schottky diode into the recharge path to limit its voltage.
Requirements
The following materials are required for this mod:
- Coin cell holder. This tutorial will be using this one
- Schottky diode. This tutorial will be using this one
- CR2032 battery. Panasonic or Sony/Murata brands recommended, available here or here
- Soldering iron, solder, and flux
- Desoldering equipment, such as a desoldering gun, desolder pump, or wick
- Flush cutters
Installation
- Remove the top cover of the Dreamcast. IFixIt has a helpful guide here with pictures on how to remove the top cover if needed.
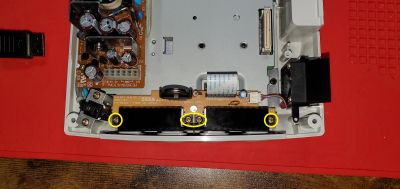
- Once the top cover is off remove the 4 Philips screws holding the board into place.
- Gently remove the controller cable as well as unplug the fan so that the board can be removed from the case.
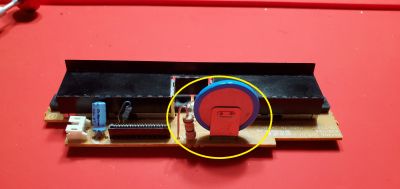
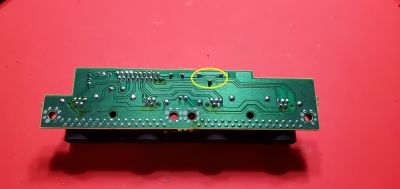
- This is the battery we will be replacing, and next to it where we will install the diode. Turn the board over and desolder the three legs of the current battery holder, as shown here:
- Insert the new battery holder where the old one was and solder it in.
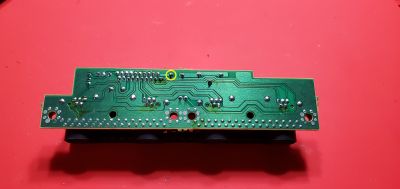
- Desolder the leg of the resistor furthest from the battery holder, as shown here:
- Trim the leg below where the bend is with the flush cutters and remove the leg from the board
- Insert the diode into the same hole where we just removed the resistor leg. Diodes have polarity, so make sure to install it as pictured below with the cathode (black ring) at the bottom.
- Solder both ends of the diode. Enjoy! While you already have the controller board removed, now would be a good time to replace the F1 fuse as well (as pictured to the left of the resistor below)
