NES:Height Defnes
The Height Defnes is a mod designed by Greg Collins that adds a custom 3D printed center to the NES Toploader in order to accommodate the Hi-Def NES Mod by Kevtris inside the system without any modification to the original shell. File:Height-Def NES NoCut Mod v1.9.zip, though all of Greg's designs can be purchased from his the Laser Bear Industries store.
In addition to the design files you must also source the following items.
- 5mm LED (make it your own and pick any color, you will also need a resistor to hook up to your system's 5V line.)
- #4 -24 3/4" sheet metal screws quantity 3 (I have not found a metric equivalent)
- #4 -24 1" sheetmetal screws quantity 6
- Hi-Def NES Mod Kit
There are several pieces that need to be printed.
- Hi-Def NES NoCut Mid Section.stl
- Hi-Def NES NoCut Board Mount.stl
- Hi-Def NES NoCut Back Cover.stl
- Hi-Def NES NoCut LED Clip.stl
- Hi-Def NES NoCut Spacer.stl (you need 4 of these)
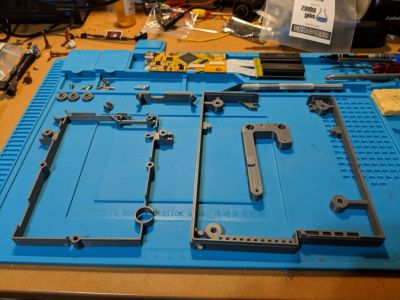
The mid section print is composed of two separate pieces, the outer riser and the inner riser, this was done because of the difference in starting height of the two locations.
The final printed pieces after you clean up the support material you used in printing should look like this:
The install process is fairly simple, but there is a order to the install:
- The outer riser needs the back cover inserted into it. It has a tight fit, and needs to be pressed in until it sits snugly on the clip in the outer riser.
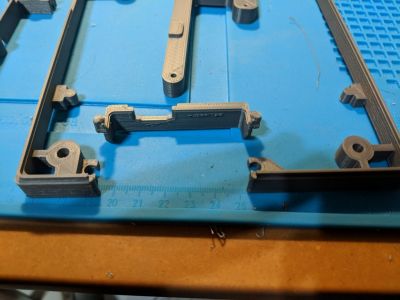
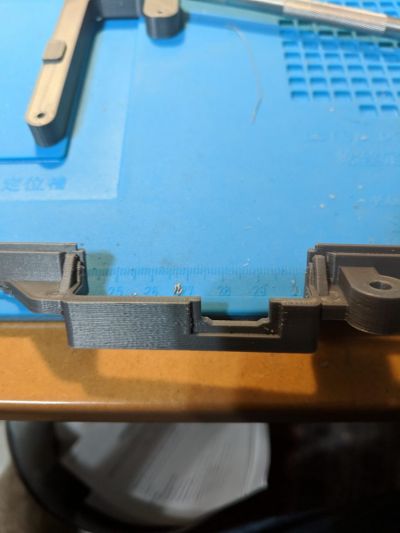
- The four spacers will need to be glued into the bottom of each screw post, there is a groove that the spacer sits inside of.
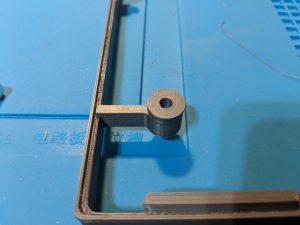
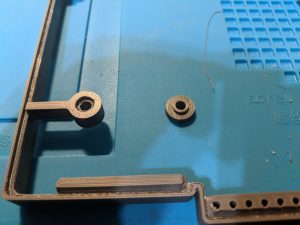
- The outer riser can be placed into the bottom shell of the NES, it fits snugly and may require some minor force to get it to sit flush into the space.
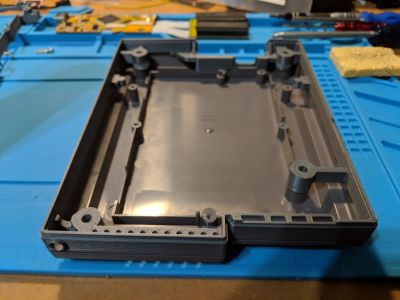
- Then install the board mount into the bottom of the NES shell, the Hi-Def NES will screw to this mount using one of the original short screws in the spot towards the front of the system. The screw hole at the back of the system will go in after the inner riser is placed in.
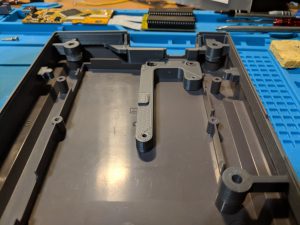
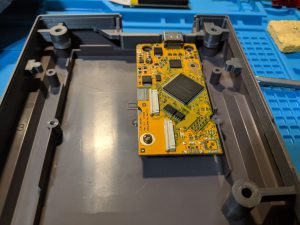
- The inner riser will go in next. Use another original short screw to install through the Hi-Def NES and into the board mount.
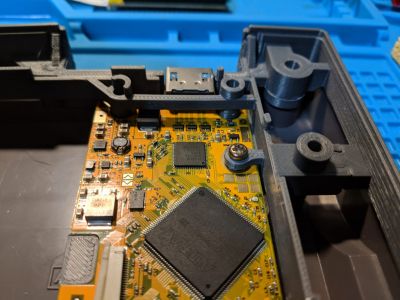
- Now install the NES main board with 2 1" screws on either side of the cart port, and 3 3/4" screws on the remaining 3 screw positions.
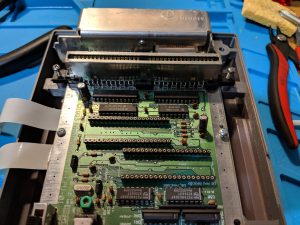
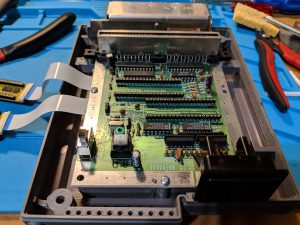
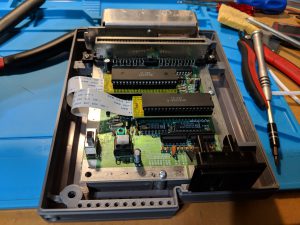
- The LED will slot into the front hole, the clip is pressed in after the LED is partially inserted into its mounting hole, the clip will securely hold the LED in place.
- At this time you can store your remaining screws in holes at the front of the system in case you ever want to undo the mod you will still have your original screws handy. There will be extra holes as you reused a couple screws in the installation of the mod.
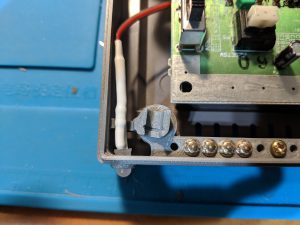
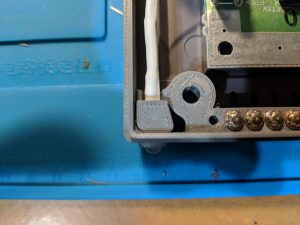
- Then attach the top shell, and fasten the 4 remaining 1" screws in the original screw holes.
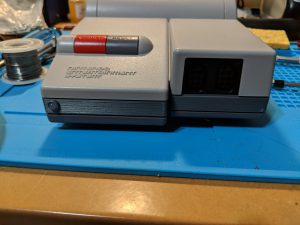
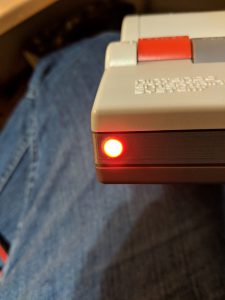
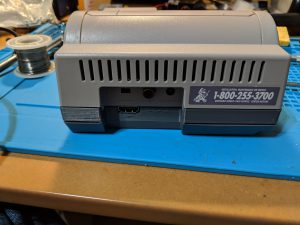
Now you have a Height-Def NES (or Extra Hi-Def NES)!
