Saturn:Digital Audio (SPDIF) Mod

From ConsoleMods Wiki
Revision as of 16:01, 14 July 2023 by Derf (talk | contribs) (Created page with "Original guide adapted from a [https://web.archive.org/web/20170626072614/https://www.assemblergames.com/threads/saturn-dreamcast-toslink.57670/ post by citrus3000psi]. This tutorial assumes you have a TDA1386T DAC chip in your Saturn. Refer to this thread for parts and more info: http://assemblergames.com/l/threads/700x-ps1-toslink-success.57639/ # On the back of the motherboard, solder these four points to your SPDIF board or TOSLINK adapter. #: File:Saturn SPDIF...")
(diff) ← Older revision | Latest revision (diff) | Newer revision → (diff)
Jump to navigation Jump to search

Original guide adapted from a post by citrus3000psi. This tutorial assumes you have a TDA1386T DAC chip in your Saturn.

Refer to this thread for parts and more info: http://assemblergames.com/l/threads/700x-ps1-toslink-success.57639/

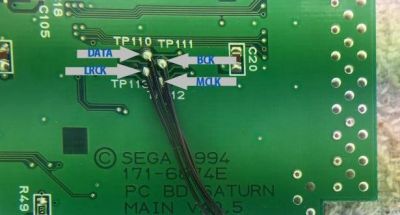
  1. On the back of the motherboard, solder these four points to your SPDIF board or TOSLINK adapter.
    Saturn SPDIF Mod 1.jpg
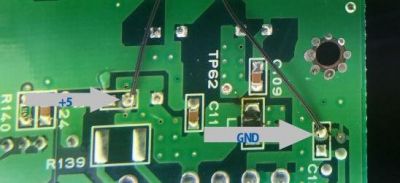
  2. Solder +5V to pin 7 of the TC9231N and connect GND to your SPDIF board or TOSLINK adapter.
    Saturn SPDIF Mod 2.jpg
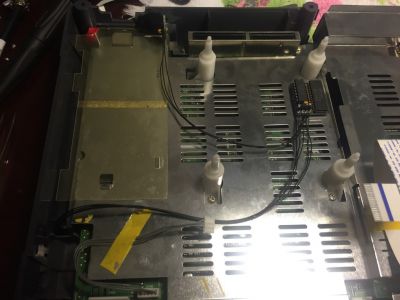
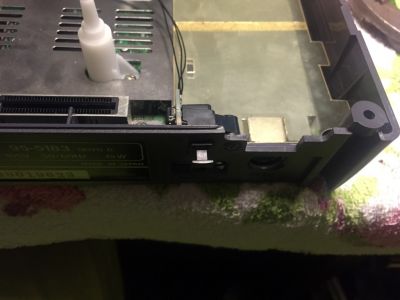
  3. Mount your SPDIF/TOSLINK PCB. This is one suggested location, but it may depend on what devices you may have installed in your unit.
    Saturn SPDIF Mod 3.jpg
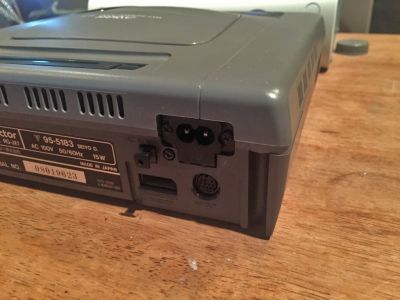
  4. Mount your external jack. This is one suggested location, but may require trimming of the case.
    Saturn SPDIF Mod 4.jpg
  • Example completed install:
    Saturn SPDIF Mod 5.jpg