NES:PlayChoice-10 PPU Mod
This page describes the original method of getting RGB output from a NES or Famicom. Please note that this method has long since been superseded by modifications such as the NES:NESRGB and Hi-Def NES and involves salvaging the PPU from a PlayChoice-10 board, which is now in very short supply. Due to these reasons, this modification is not recommended and the information presented here is provided for historical purposes.
Introduction
In 1986, Nintendo introduced the PlayChoice-10 arcade system, which could play up to ten modified NES games. Since arcade systems typically used RGB monitors and the standard NES hardware only supported composite video, Nintendo used a custom 2C03 PPU (Picture Processing Unit) on the PlayChoice-10 motherboard to output RGB video. At some point during the late 1990s or early 2000s, people discovered that this PPU could be integrated into an NES or Famicom console to provide RGB output.
Color Palette Issues
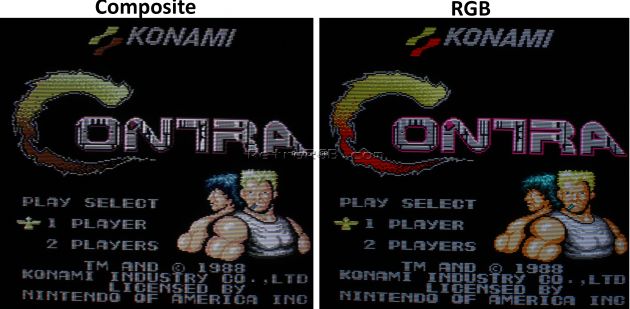
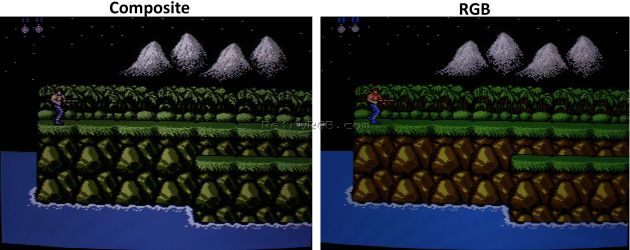
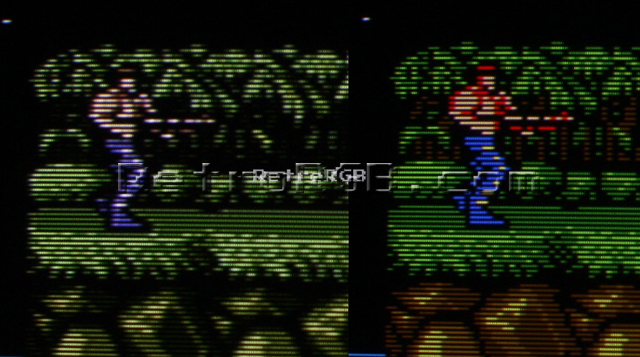
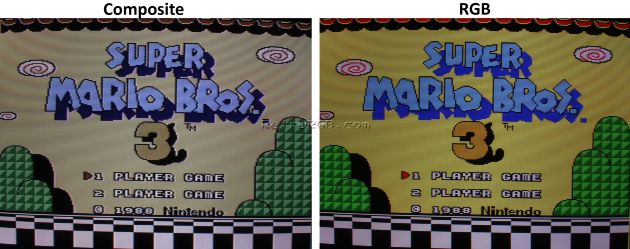
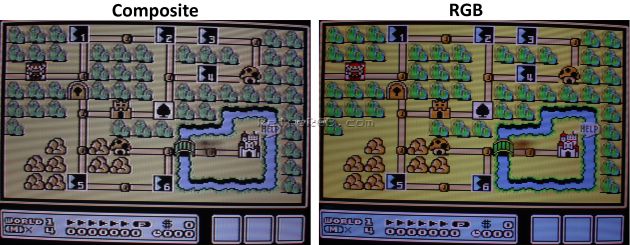
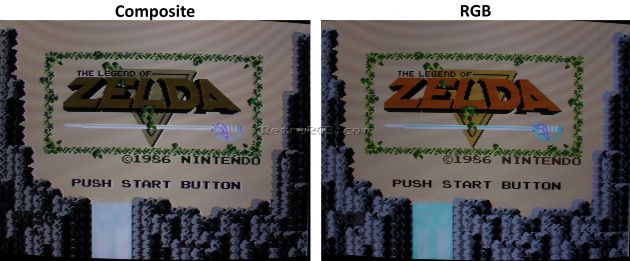
Due to the different palette used by the RGB PPU compared to the standard PPU in the NES, some games look different. Most are similar to the home system, but not exact. Some games have rather vibrant colors, such as Contra and Duck Hunt. Others like Zelda and Super Mario Bros. 3 look different, but whether they look better or worse is subjective. A handful of games such as Super Spy Hunter are not compatible with the RGB PPU due to its treatment of the PPU's color emphasis bits. More information on this particular issue can be found here on the NESDev wiki.
Install Procedure
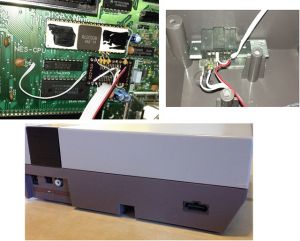
Below is a basic rundown of a typical PlayChoice-10 PPU install:
- Desolder the original NES PPU; this was arguably the most difficult part of the install and had the highest potential for damage.
- Install the PC-10 PPU in its place.
- Build a circuit to drive the PPU.
- Build an output port.
Full information on the installation of a PC-10 PPU can be found here, though keep in mind that the link in question contains outdated information dating back to 2005 and should not be taken as definitive.
Picture Comparisons
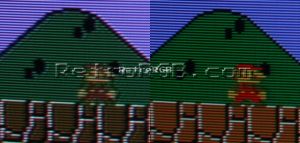
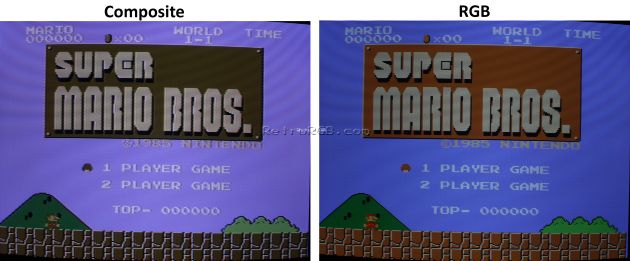
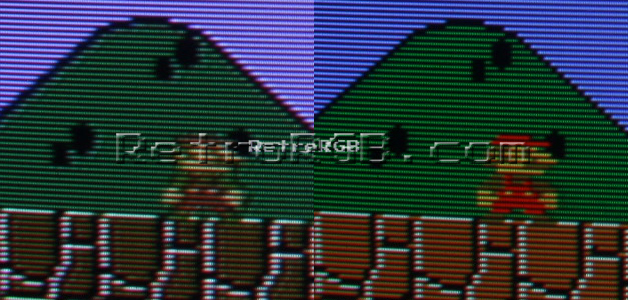
This section shows picture examples of what the NES looks like after being modded with a PC-10 RGB PPU. Click "Expand" below to show this section.
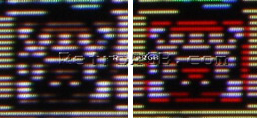
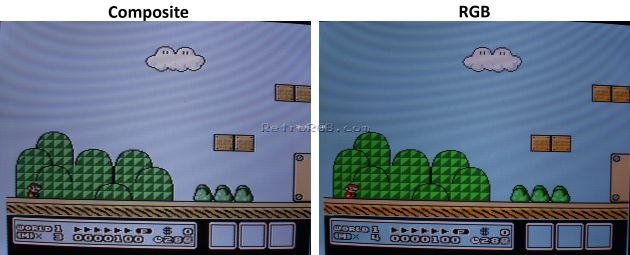
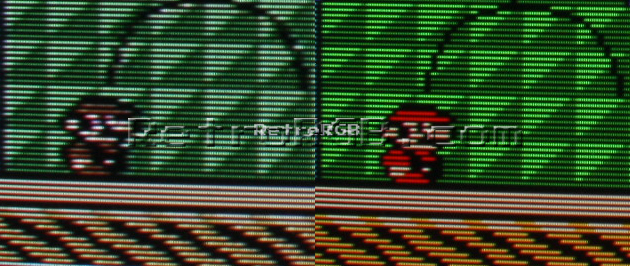
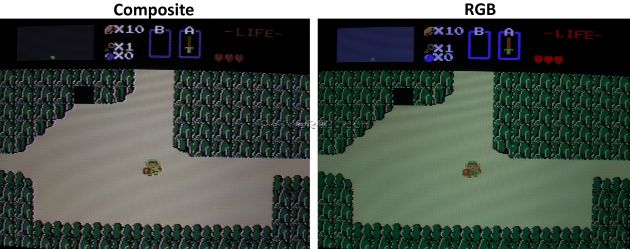
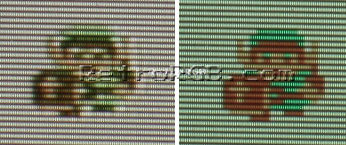
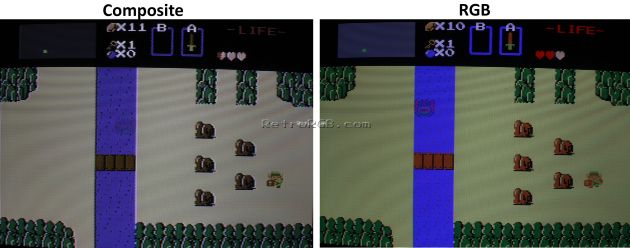
The pictures demonstrate two things:
- Difference in picture quality between composite video and RGB.
- Difference in color palette between the PlayChoice-10 RGB chips and the original NES color palette. Please see the PC-10 page on RetroRGB for an explanation of why there are differences.
The below images are photo captures of an RGB-capable monitor, which also has the effect of making the composite video output of the NES look much better than a regular TV. Click any picture to expand it to full size.
